Before you begin
- stagewise installed and launched
- A project folder on your machine (any language, any framework)
- Optional: signed in to your stagewise Account for instant model access. If you skipped authentication, make sure you’ve imported your API keys or connected a local model
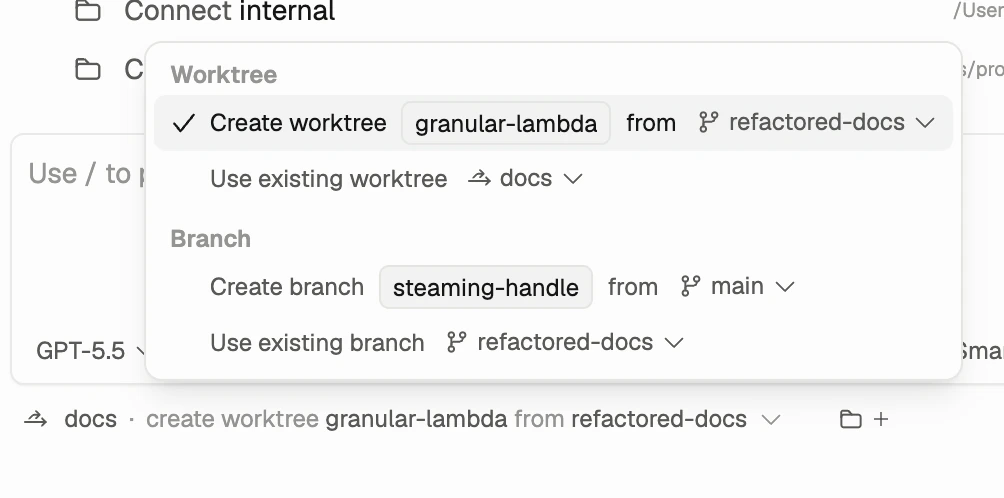
Step 1: Connect a workspace
A workspace is any folder you want your AI coding agent to access.- Click the workspace panel in the sidebar
- Click Add workspace and select a folder
- The agent can now read, write, and modify files in that folder
Workspaces are not sandboxed. The agent operates directly on your filesystem. Every change is tracked so you can review or undo anything.
Step 2: Open the chat
The chat panel is where you talk to your agent. You can:- Type instructions — Describe what you want in natural language
- @mention files — Reference specific files for the agent to work on
- @mention tabs — Attach browser tabs so the agent sees what you see
- Select DOM elements — Click elements in the browser to attach them as visual context
- Use slash commands — Type
/to access skills, plugins, and agent features
Step 3: Send your first prompt
Type a prompt and press Enter. Start with something exploratory:“Summarize the structure of this project and suggest three improvements.”The agent reads your files, analyzes the project, and responds with a plan. You can then ask it to implement the suggestions.
Step 4: Review changes
Every file edit the agent makes is tracked. After the agent modifies code, you’ll see an inline diff summary in the chat:- Accept changes you want to keep
- Reject changes to revert them
- Undo or redo entire tool calls
Add context and commands
Use the chat input for mentions and slash commands. Use the browser toolbar or hotkey for DOM selection.Write useful prompts
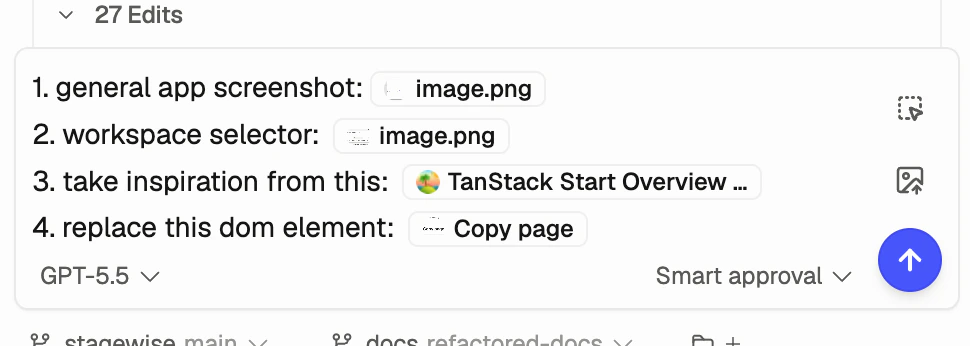
Give the agent a specific target, expected behavior, and any constraints. Good prompts include:- The file, component, or page you want changed
- The exact behavior you expect
- Screenshots, browser tabs, files, or DOM selections when visual context matters
“Add input validation to the login form and show error messages below each field.”Start a new chat for each distinct task. Use the DOM context selector when a visual change is easier to point at than describe.
What’s next
How agents work
Understand the agent loop and how AI coding agents process your requests.
Workspaces
Connect multiple workspaces for full-stack agent workflows.
Skills & plugins
Teach agents project-specific patterns and integrate your stack.
Import your subscriptions
Use existing provider API keys.